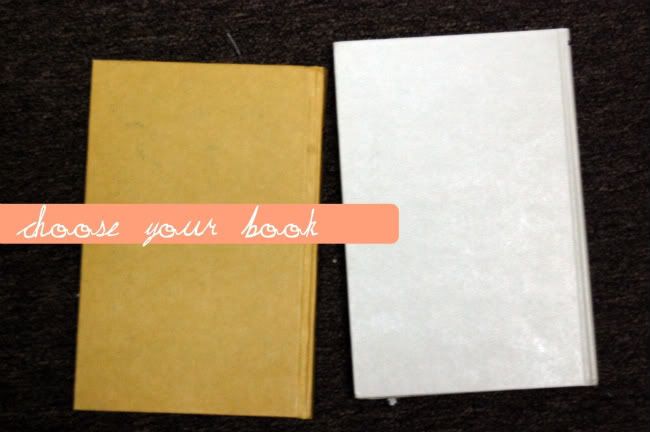
Steps: The first thing is to choose a book you want to use. We bought a good handful from a thirft store for about 45 cents. Another cute idea is to use a child hood book as well.
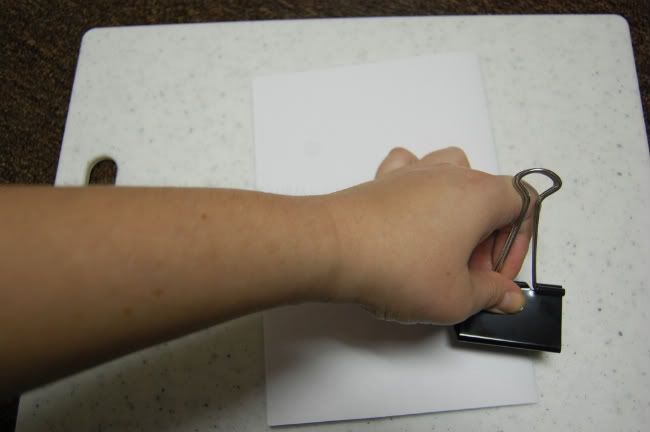
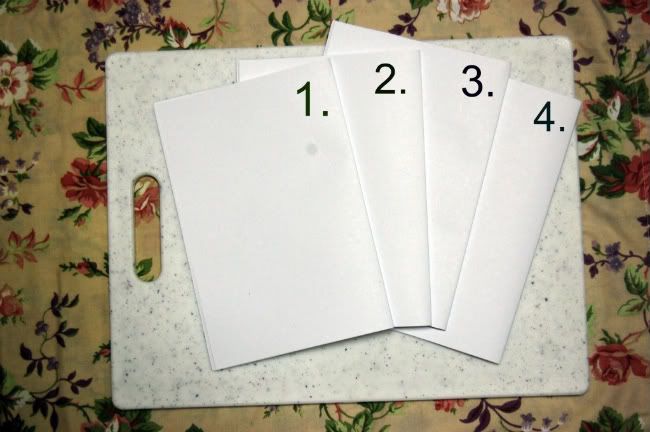
After you have chosen your book, you need to choose the type of paper you want to fill your journal with. I used blank white multi-purpose paper and lover face used graphing paper. When you decide on the paper, separate the paper in piles of 10. I made 4 different piles of 10 papers. Lover face used 6, this depends on how thick the spine of your book is. Fold all our piles in half.
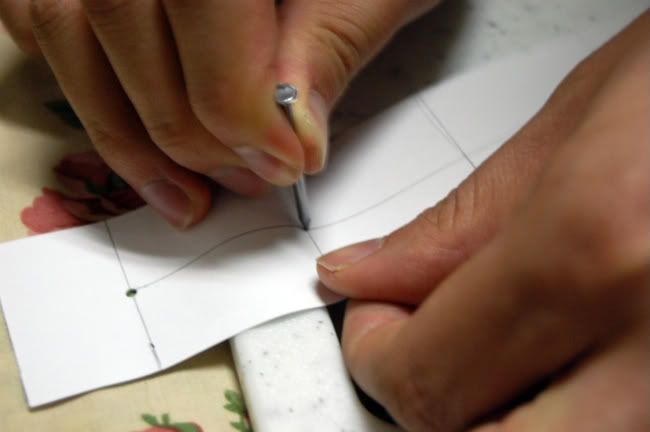
Now you take your folded what are called "signatures" and you need to poke 6 holes along the fold. To help you keep all the holes aligned you can make a template of your 6 holes to follow as you punch them in each signature.

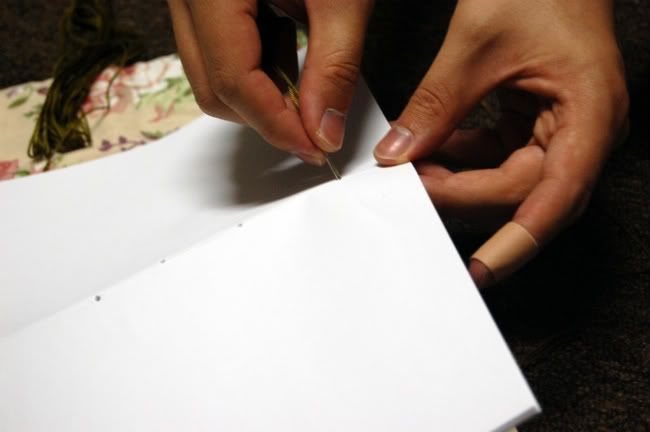
After you have punched holes in every signature, take your embroidery thread and needle and start by going in on hole number 1 of your first signature, then coming out of hole number 2 repeating this pattern ending with the thread coming out of hole number 6. Next you go in hole number 6 of your second signature and out of hole number 5. Once you come out of hole number 5 on your second signature you go into hole number 5 on your first signature. Then you come out of hole number 4 on your first signature and into hole number 4 on your second signature. You follow this pattern until you come out of the first hole on signature 2. You then tie the thread with the tail end. Continue this pattern until you have sewn all your signatures together.
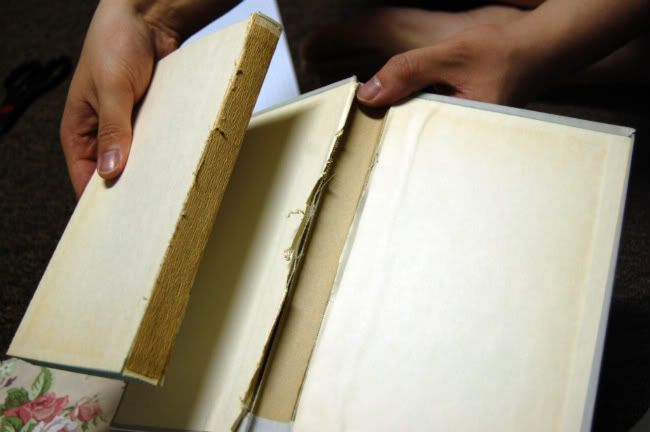
Now that you have all your signatures connected, its time to take apart your book. Use a blade (be careful to not cut yourself, as you can see the picture above lover face cut his finger) and carefully cut out the pages of the book.
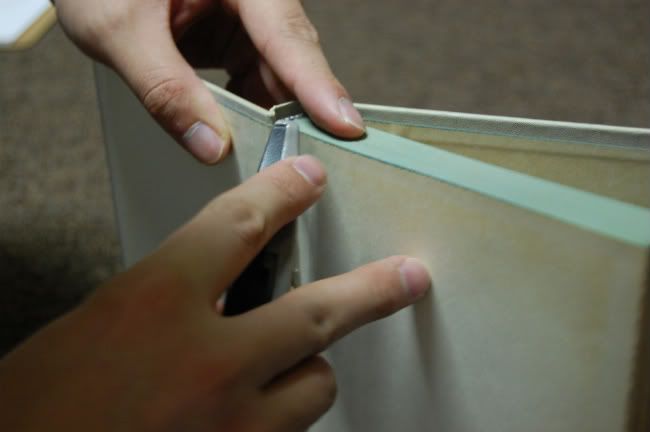
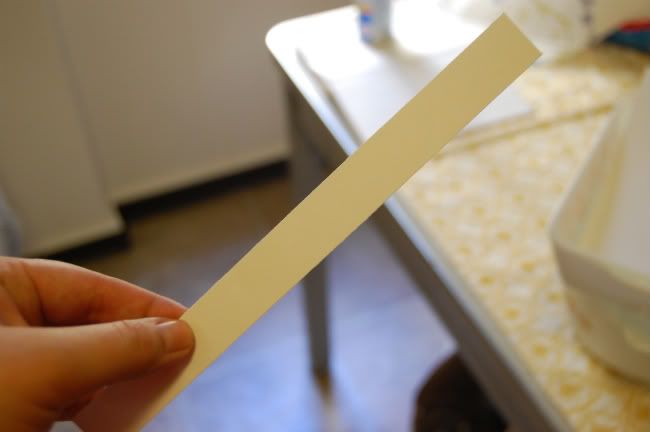
Now that you have both your book and signatures done, cut a strip of cardstock the same width as your signatures and glue it to them. This will make it easier when you actually glue your signatures to the book.
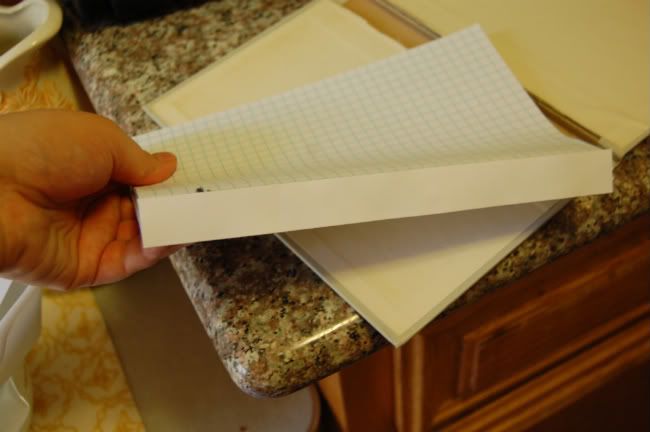
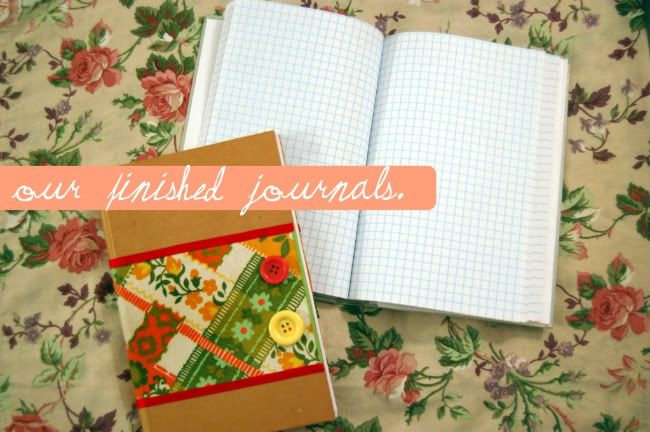
now glue that bad boy to the spine of your book and VOILA! you are done with your very own journal! To make it even more fancy you can decorate it using fabric, ribbon, buttons, etc. or even draw something really cool on it with pens/markers.
If you end up making one send me a link so I can see it! I would love to see what you guys create. Have fun :)
xoxo,
-Meggs


That's so fantastic! I want to make one too now :)
ReplyDelete-April
Aww, yours looks super pretty!
ReplyDeleteP.s I have new buttons available as my old ones vanished for some odd reason. Please take a look :)